Certified Sender Email
ezguide
easy to follow step by step guides
easy to follow step by step guides
Many clients use our simple forwarding system to direct emails from their website associated email address onto their personal email address. This enhanced email service offers more functionality and is built on the Google Mail platform.
Our Certified Sender Email service allows you to send and receive using an email address which accompanies your website address. For example you may have the website www.counsellingoxford.co.uk and you would like to send and receive using the address jane@counsellingoxford.co.uk. Another example might be that you would like the email address info@susanjonestherapy.co.uk to accompany the website www.susanjonestherapy.co.uk.
The Certified Sender Email service comes with lots of other great features such as:
In fact new features are appearing all the time, because we have built this solution on the back of Google's much loved Google Mail service, so you get all the features of Google Mail but with your own email address.
You need to set up an account with Google and they will allocate you an @gmail.com email address but once you've followed the steps in this guide that gmail.com address will never be used other than as a login. If you already have a personal @gmail account you can either use that or create another one to keep business and personal separate.
Notes
 Google make a great app for mail available for iPhone and Android as well as being web browser based on the Mac/PC. It is called InBox and we suggest you try it if you haven't already.
In this guide though we need to set things up via the Google Mail website http://mail.google.com. After settings things up once here all your settings, folders, out of office messages and so on will be available everywhere you use GMail or InBox.
Here's an overview of the steps:
Even if you have an existing Google account, it might be easier to set up a separate one to keep your website emails separate from your personal emails.
First visit http://mail.google.com or click here and then click on "Create an Account".
Now fill in the form as follows:
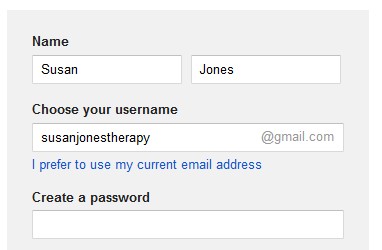
You will also be asked to enter another email address when setting up your Google account. Google uses this for things like password reminders, and we recommend that you enter your personal email address at this point.
You may also be asked for a phone number so that you can verify your account. If you give a mobile number, you can opt that Google sends you a text for this verification.
Once you've filled in the form, click "Next Step" at the bottom, and follow the phone verification instructions, if you're asked to do this.
Now you'll see an option to add a profile photo, which you don't need to do - just click "Next Step", and then "Continue to Gmail"
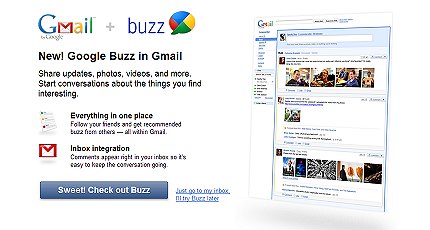
Depending on what other facilities Google is trying to promote at the time, they may take your straight to your new InBox, or they may plug some new option. For example, if you see something like this below, you can skip it by clicking Just go to my Inbox, I'll try Buzz later.
You should now have a Welcome! screen up as shown below.
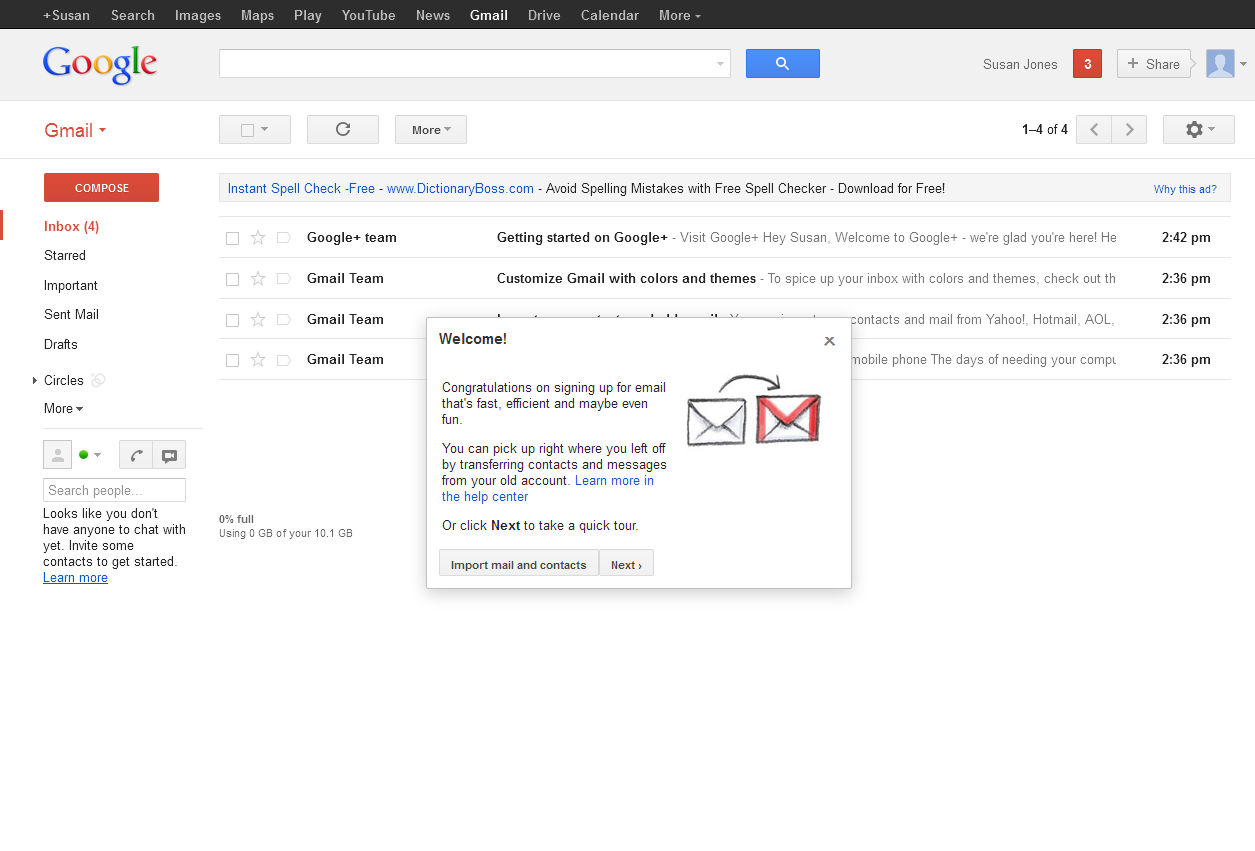
So that's your Google / Gmail Account all set up, and you will have been allocated a Gmail address of e.g. susanjonestherapy@gmail.com. You won't need to tell anybody about this address, apart from WebHealer, because as we said above, we're not really interested in the address itself, but rather the Google mail services.
Now just tell us what @gmail.com address you are using so that we can set up your Certified Sender service. If you have already been using Email Forwarding we can initially continue forwarding emails to your personal email address as well as having them come into your Certified Sender Google mailbox. When you're happy everything is working reliably ask us to stop the personal email forwarding. For now though just send us an email request like this.
Technical note: One of the things we do is to set up an "SMTP Account". This is the service that will allow you to send emails out from info@susanjonestherapy.co.uk. We use a specialist supplier for this who uses a number of trusted sender technologies to provide protection for your outgoing emails from being tagged as spam. There is a daily mailing quota on each client account we set up of 200 emails per day - a figure no one should reach unless they start bulk mailing, which this service does not support.
After we confirm your service is set up and send your password suffix you can follow these steps to configure your Google Mail client to use Certified Sender.
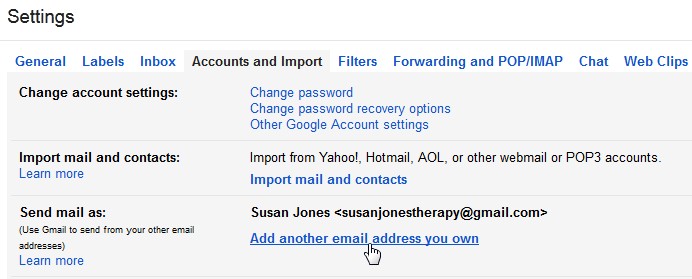
First we tell Gmail to use your website email address instead of the allocated address susanjonestherapy@gmail.com. Click on the cog icon near the top right of the Gmail screen, and from the drop down menu select Settings. This will show a screen similar to this...
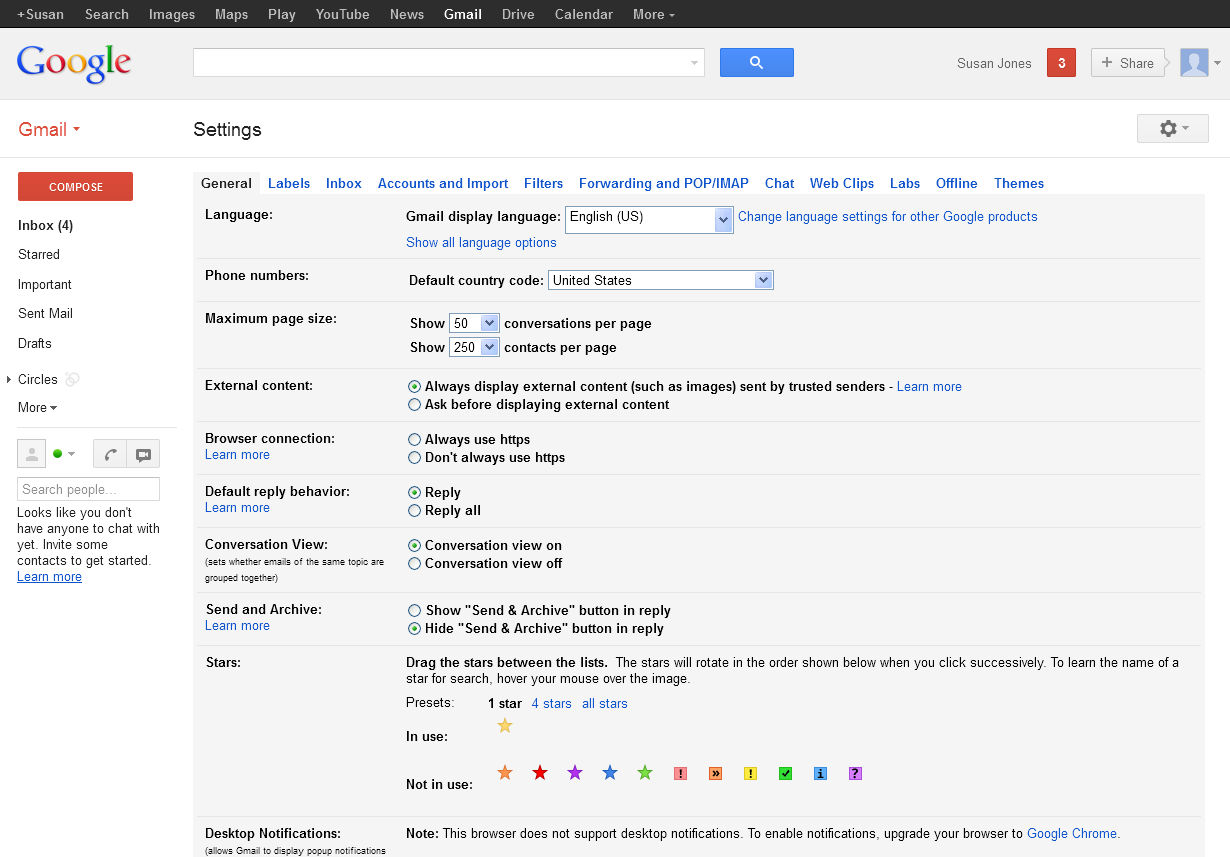
Click on Accounts and import, and then on "Add another email address you own"
This will bring up a box like this, where you put in your WebHealer website email address
It is important to untick the "Treat as an alias" box. Now click Next Step, and fill out the next screen shown below as follows.
If you try this step before we have set up your Certified Sender account the setup will fail at this point, otherwise you will see the next screen.
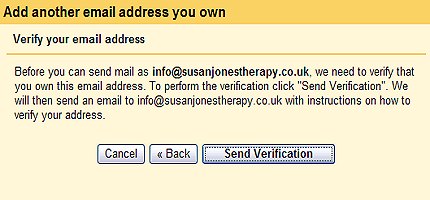
Just click Send Verification and the following screen will pop up. You can however just click Close Window, as you're going to "Click on the link in the confirmation email" when it arrives in your GMail InBox shortly.
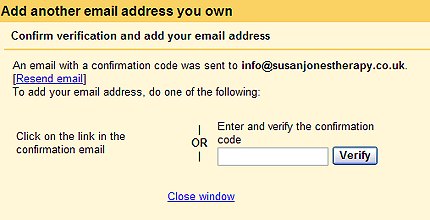
As you have just told Gmail that you can send emails using a completely different email address than the one it allocated you, you now need to prove that its your address, and that you're not trying to spoof (or impersonate) someone else. For example, you could have entered the address mick@mickjagger.com ! Verification is quite simple though. When the verification email arrives click on the link in it as the email asks - "please click the link below to confirm your request:" Check your spam folder if the verification email doesn't arrive soon as Gmail sometimes thinks even its own emails are spam!
Once you have done this, a Google confirmation screen will come up, which you can just close. You have now convinced Google that you are allowed to use the address info@susanjonestherapy.co.uk on their systems. There's just one more quick Gmail configuration step left.
You now have access to Gmail's web based mail software to send emails, but they are still being labelled as being from your Gmail address eg susanjonestherapy@gmail.com. To fix that, in your new Gmail account click on the cog icon and select Settings, and once again choose the Accounts and Import option. Now you should see that you have two options under "Send Mail As"
Gmail address: susanjonestherapy@gmail.com
Website email address: info@susanjonestherapy.co.uk
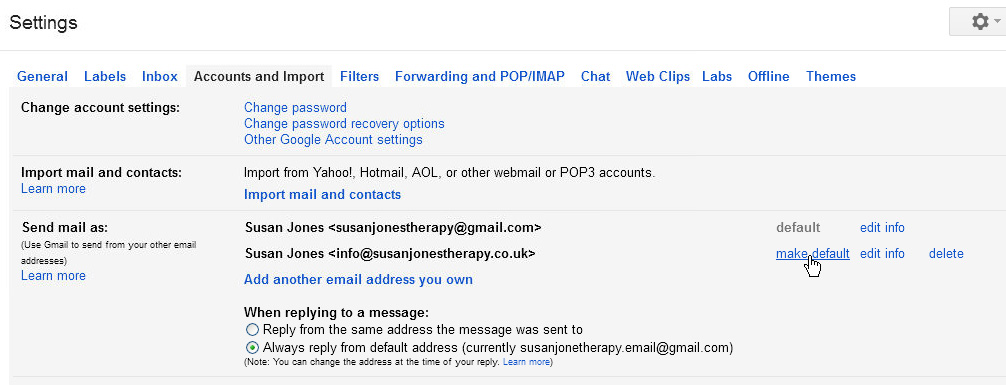
Just click on make default alongside your website email address, and from now on any emails sent from within Gmail will be shown as "From : info@susanjonestherapy.co.uk" .
Now you can use Google Mail to send and receive email. Anywhere you have access to a web browser you can go to mail.google.com or use the new InBox via inbox.google.com. It is simple to use and they offer support if you need.
To use your new email address on iPhone/Android just go to Apple's App Store or Google Play on Android and download the InBox app or you can use the older Google Mail app. They are very simple to set up as you simply need to log in with your @gmail.com address and the password you chose. All your folders and settings are automatically configured, so its much easier than using the native Mail client that comes with the phone/device. Please note that this system does not support the native Mail client on iPhone/Android.
Google don't currently make an InBox or GMail app for Blackberry or Windows Phone and this solution doesn't support the native Mail clients on these devices so for now you will either need to use a web browser on these devices or use our Advanced Email Service option.
If you want to access your mailbox and compose emails offline via your PC/laptop you can use the Offline GMail app. It comes as a plug-in for Google Chrome and the process is explained here (click the blue desktop link when it opens).
https://support.google.com/mail/answer/1306847?hl=en
If you don't want to use InBox or GMail via Safaria you can get a copy of kiwiforgmail.com which will give you a desktop GMail client. The standard mail client is not supported by our solution.