Google Spellcheck
ezguide
easy to follow step by step guides
easy to follow step by step guides
Spelling errors can put website visitors off, so this guide shows how you can spell check your website wording, using the Google Spellchecker.
This EZ Guide will show you how to spell-check your website's content, as you are typing it in. Please note that this guide only applies if you are using the Internet Explorer or Firefox browers. (Other browsers, including Google Chrome, Opera, and Safari, have their own built-in spellcheckers which can check your spelling as you type - for details, see the browsers' own websites.)
There are 3 sections to this guide:-
First we'll start by assuming that you have Internet Explorer, as that's the most popular browser. Then we'll describe what to do if you use the Firefox browser.
The first step is to go to the Google page where you can download the toolbar, so click on this link to do that. It opens in a separate window.
www.google.com/intl/en_uk/toolbar/ie/index.html
Once you're there, it's probably a good idea to check just below the button, to be sure that you can use the toolbar on your computer. If your using Internet Explorer you'll see something like this:-
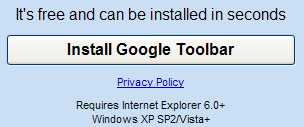
So make sure that you are using Internet Explorer version 6 or above, and Windows XP or Vista or above.
Now just click on the big Install Google Toolbar button, check the Google Terms of Service, then click Accept and Download. Just choose to Run the installer, and very quickly you should get another Internet Explorer browser window opening, featuring a popup with 2 options...

Just click Ask Me Later, as we don't need the extra features for now.
Your Google Spellchecker is now set up and ready to use, but to make sure it's easy and convenient to use, a good idea is to ...
Now the Google Toolbar is installed, you'll see an extra line at the top of your browser window with a collection of buttons looking something like this:-

The Check spellchecker one is the one that you want to keep.
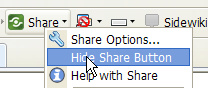
Most of the other buttons can be hidden by right-clicking on them, and choosing to hide the button - for example the Share button...
If you can't see the "Check" button right away in your new toolbar, it might be hidden, in which case, click on the spanner in the toolbar...

The window that opens is "Toolbar Options". In this window, click "Tools" (this might be on the left, or at the top of the window)...
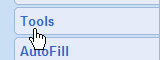
on the left
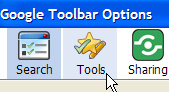
or at the top
Once you've clicked "Tools", you'll see a list of tickboxes for the tools you want to appear on your toolbar. Now you can tick the SpellCheck box like this, and click "Save" to close the window.
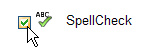
This will put the "Check" button right into your toolbar.
And that's it - Google Toolbar is now ready to spellcheck for you.
Once you've got that Check button at the top of your browser window, spell checking your website is simply a matter of editing your website content as usual, by entering text into your Text Displayed box, and with your cursor still in the Text Displayed box, and before you click Save Changes, click the Check button in the toolbar at the top....
The Check turns to Stop... 
... the Text Displayed box will turn blue, and your spelling mistakes will stand out in red...
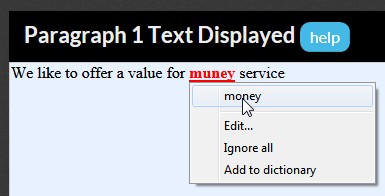
If you now left-click on the words in red, you'll get options to replace them with the alternatives from the spellchecker, as shown above. Just click on what it should be, and the offending word will be replaced. Alternatively, if the word is correct, but unknown to the spellchecker, you can choose to Add to Dictionary, and it will never highlight that word again.
Once you're happy your spelling is correct, you can click on Stop in the Toolbar, and your changes are saved in the Text Displayed box. Finally you can click the Save Changes button, and your web page should be all correct.
As with Internet Explorer, you'll need to download the toolbar, so click on this link to do that. It opens in a separate window.
www.google.com/intl/en_uk/toolbar/ff/index.html
Once you're there, it's probably a good idea to check just below the button, to be sure that you can use the toolbar on your computer. For Firefox, you'll see something like this:-
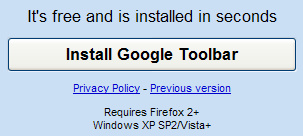
so make sure you're using Firefox version 2 or above, and Windows XP or Vista or above. Now just click on the big Install Google Toolbar button, check the Google Terms of Service, then click Agree and Install. This will bring up a confirmation with an Install Now button as an option. Click this button, and the toolbar will be installed. You will need to restart Firefox to complete the installation, either by clicking the button to do just that, or just close all open Firefox windows, and open them up again.
Once you have the toolbar installed, you might want to set up your icons Once you're happy with those, just follow the instructions above to spellcheck your wording.